The Top 10 Mana Rocks for Any Deck
- PDH Home Base

- Aug 25, 2017
- 3 min read

I want to start this off by asking you a question. How many times have you ever found yourself "mana screwed" during a game? A phrase that can make any player cringe, many players have experienced having their lethal hand turned into expensive bulk. You can be just one land away from taking a game over, but your opponent was able to work faster. It's frustrating, and takes away from your game. You can't craft your hand, nor can you force yourself to always draw the lands when you need them. So, what can you do?
Although you can always mulligan, you can't change your luck, and you can't change how fast your opponent will play. It's important that you always have the mana ramp you need to stay ahead of your opponent, and I hope this list gives you the tools you need to compete in your pauper EDH game. In no particular order, let's get started.
1. Commander's Sphere
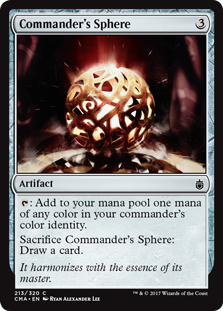
This is becoming an automatic include in all multicolored decks. The ability to turn this into a means of card draw, especially during late game, is fantastic.
2. Armillary Sphere
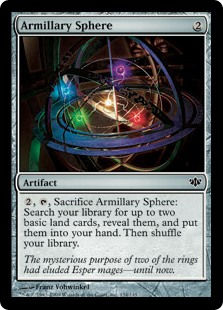
This isn't exactly a true "mana rock" like the others on this list, but I felt the need to still include it. Decks with a larger color identity tend to have the issue with mana fixing, especially in a budget format. Several options, such as Armillary Sphere exist to help you fix your mana base, to work as efficiently as possible.
3. Cluestones

As I had mentioned with the above noted Commander's Sphere, the option for card draw late game is really handy. Although inferior to the Sphere, the cluestones give some extra options to fill that ramp gap. I'm glad to see at least something good came out of Dragon's Maze.
4. Signets

These are particularly nice, due to the lower CMC. Extra options for two color decks never hurt. Although needing to pay 1 mana to use it, these do fix mana.
5. Banners
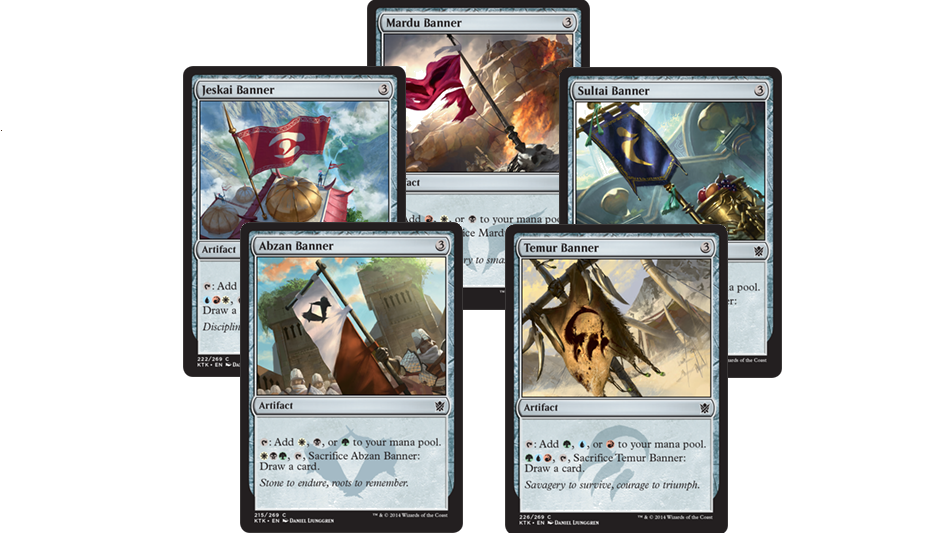
These are essentially cluestones for the Khans of Tarkir tribe color shards. More expensive to utilize that late game card draw, but still possible.
6. Obelisks
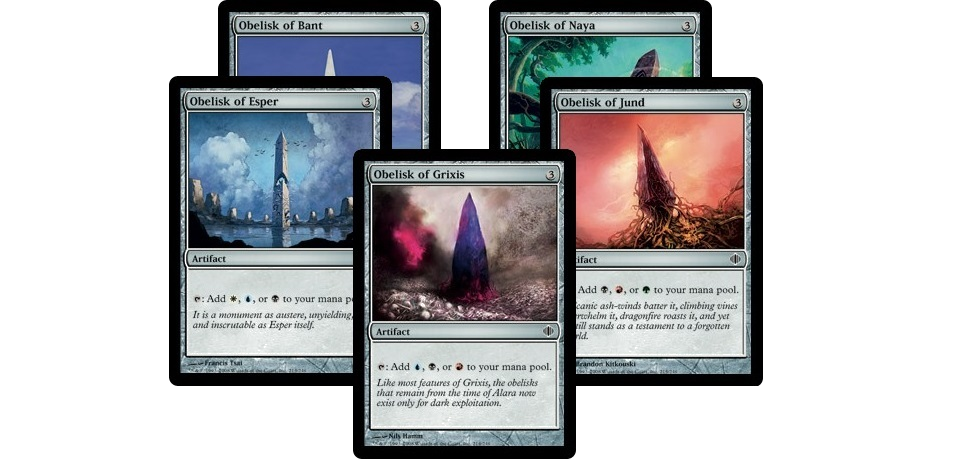
Although not as nice as the Banners, having rocks for the Alara shards are still great. The Shards of Alara block have the greatest selection of 3 color commanders, so these will be necessary.
7. Color Rocks
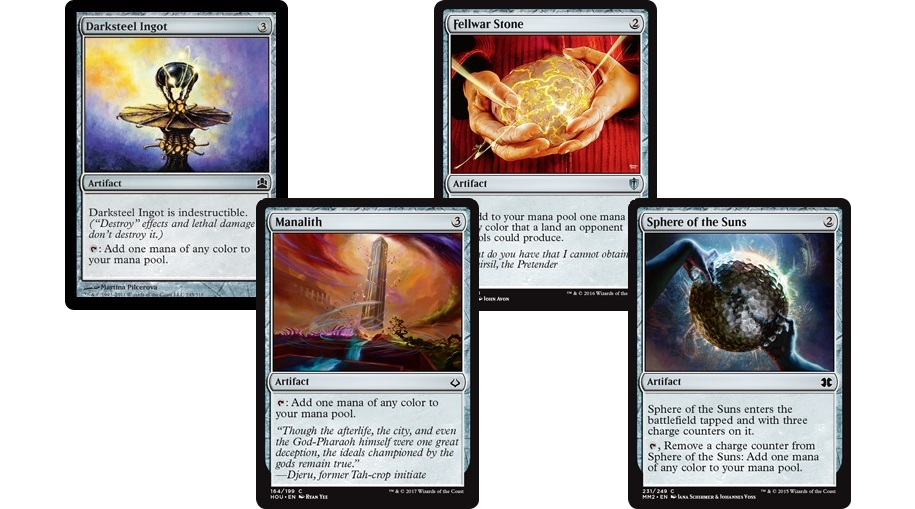
Take whatever help you can get. Fellwar Stone and Sphere of the Suns have a high chance of helping you ramp very quick, as they can come out equally as quick. Having these options for choice of color will help you respond better to all situations.
8. Colorless Rocks
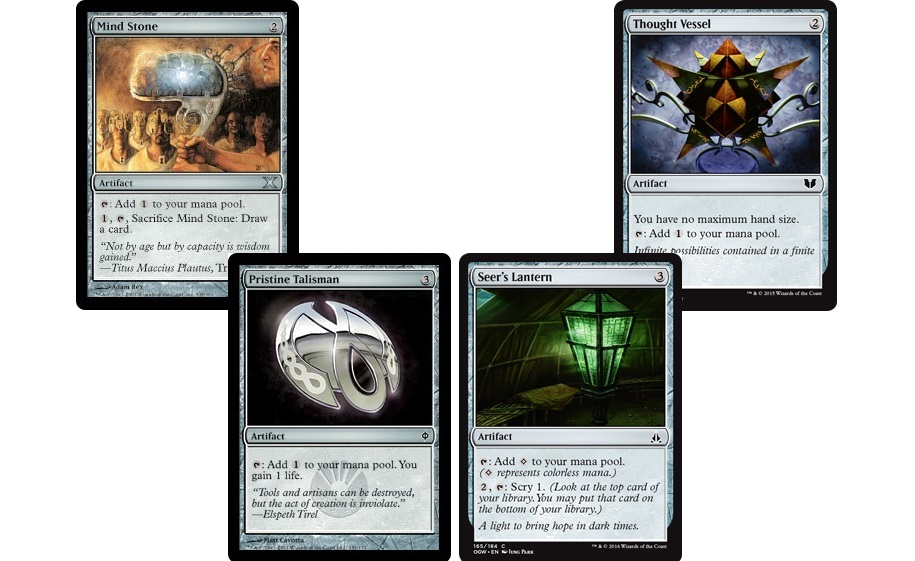
For a single color deck, color fixing may not be necessarily the issue. All you need is to ramp. A few of these multipurpose options may suit well for you.
9. Myr Dorks

These last two spotlights will be focused on actual creatures used for ramping. This cycle gives a ramp for each color, and will serve as a chump block later.
10. Mana Dorks

The final few cards to discuss are a group of mana dorks that can be well utilized. Walking Atlas is a great tool in particular, where it will allow you to play any extra land on each turn.
One of the most fascinating things I find about playing Magic: the Gathering, is the element of randomness, or that degree of uncertainty as to what you can or cannot do. To be frank, that's what makes it so exciting. However, nothing on this earth is more frustrating than having you win con in hand, and still a color short. The purpose of this article is to give you extra tools to help you ramp and color fix for any deck that you want to run. We can all think of unbelievable combos, but where's the fun if you can't pull it off? Enjoy!
-Kyle
@PDH_Homebase


Comments